How to Fix Amazon Fire Tablet Not Charging Issues
Amazon Fire Tablets were previously known as Kindle Fire; it’s a Tablet-based computer introduced by Amazon that comes with a microSD card with “Quanta Computer” technology.
It has built-in “Amazon Appstore,” including the feature of “e-books” and the AppStore is used to stream or play TV shows and various movies and programs.
Sometimes Tablet like “Amazon Fire” faces issues and battery not charging is one of them. It is a very aggravating issue but it can be fixed.
Here is how to troubleshoot battery issues on your Fire tablet. You have to follow these steps to know the troubleshooting steps:
Checking Reasonable Issue on Amazon Fire
There might be numerous reasons for this issue of battery, not charging. The most possible reasons are mentioned below:
- There might be a software or configuration issue.
- Your Tablet’s battery is damaged.
- There may be an issue with your charging cord or adapter itself.
- The last one only applicable in the case of “Amazon Fire Tablet” is that your device’s charging port or jack is damaged.
Continue this blog to know how to detect the right cause and their troubleshooting tips:
Checking Outlet
Before going further, it is recommended to check that your outlet cable is capable of transferring power to the Tablet. Test it to make sure that it is running well on your device and charging port.
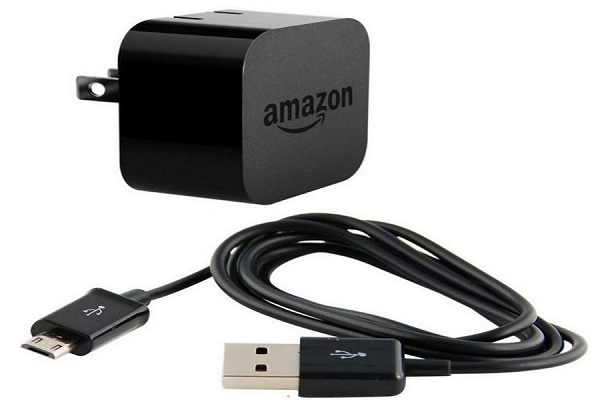
Checking Charging Adapter
If you have already tried the above steps and are still facing the same charging issues, then you should check your charging adapter. It is likely that the charging cord is not carrying appropriate power to your Tablet as it requires a minimum of five volts at 1.8 amperes. To test your adapter, you can connect your Tablet with PC using charging cable, and if your Amazon Fire is charging smoothly, then it’s the issue of your adapter.
Note: Your charging adapter may display these types of issues if the USB cable supplies below the required amount of power to charge it. It may behave badly or charge slowly and even not.
In case you found that the real cause if your adapter, then replace it with the new one by visiting Amazon store online or in person.
Checking Charging Cable
Now, we have to test the charging cord or USB cable of your charger because an adapter is incomplete without its cable. If you think that the main issue of the charging is the USB cable, then it needs to be checked. To do this, follow these instructions:
- First of all, you have to swap your charging cable either by borrowing it or from your friend. You can take or another gadget’s cable, just like the handheld device.
- Then try to charge your Tablet, if it charges smoothly, then it’s the main cause behind your charging issues.
- In this case, it is recommended to replace a new USB cable to get your Amazon Fire Tablet charged.
Resetting “Amazon Fire”
Rebooting a device enhances the performance, along with fixing various issues like minor glitches and bugs. If the battery issue is due to the existing software, then it is advised to perform full reset activity on your Kindle Fire.
To run full reset function on your device, follow these steps:
- First of all, tap and press the Power tab for about twenty seconds so that the device turned to “OFF.”
- Then, again turn your Fire to “ON.”
Note: This process shuts all the applications and programs running in the background to ensure proper power supply for fast charging.
Factory Resetting on Amazon Fire
The method of factory reset is considered the last option to fix any glitches as it takes your device to the default settings mode by wiping all data from it. Some users found it useful so that you can use this feature.
Follow these steps to perform factory reset operation:
- First of all, before continuing with this method, it is recommended to take a full backup of all your data for recovery as it will be wiped completely.
- Then, navigate to the menu icon by swiping your device’s home screen.
- After that, tap on “Settings” and then hit the “Device” option there.
- Now, tap on the “Reset to Factory Defaults” option.
- Next, hit the “Reset” tab once more in order to provide confirmation.
After performing the steps mentioned above, you have to reload your system programs and software to get surety that your device is performing in the recent edition. To do so, follow these instructions:
- First of all, tap and hold power and upper volume buttons simultaneously for nearly forty seconds.
- Then, release your fingers from the power tab but keep the volume button pressed until you view the option for installing updated software over your device.
- Now, permit to install the latest update of the particular software.
- Finally, tap the restart tab to perform rebooting.
John Smith is a technology enthusiast who loves writing about new advancements and IT threats on a regular basis. Her work focuses on the latest advancements in the realm of technology, social media, and cyber security at norton.com/setup.


Comments