How to Calibrate a Forged Brass Case Pressure Gauge
Pressure gauges are vital tools in various industries, ensuring accurate measurement and safety in processes involving gas or liquid pressure. Forged brass case pressure gauges are commonly used due to their durability and reliability. However, like any precision instrument, they require regular calibration to maintain accuracy and performance. In this comprehensive guide, we'll walk you through the step-by-step process of calibrating a forged brass case pressure gauge.
Understanding Forged Brass Case Pressure Gauges
What is a Forged Brass Case Pressure Gauge?
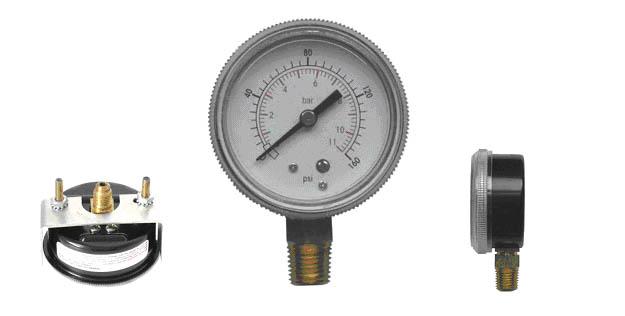
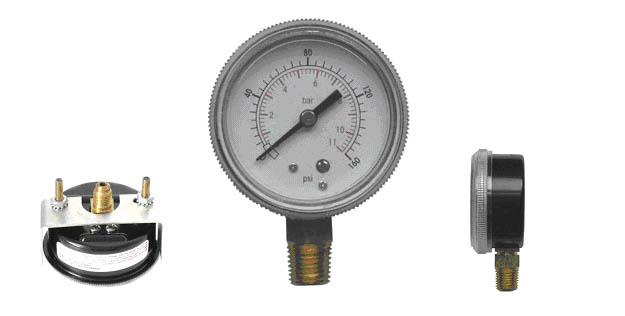
A forged brass case pressure gauge is a type of pressure gauge encased in brass that has been forged for increased strength and durability. It typically consists of a bourdon tube mechanism, which converts pressure into mechanical movement, and a dial with a needle indicating the pressure.
Importance of Calibration
Calibration is the process of adjusting a pressure gauge to ensure its readings are accurate and reliable. Regular calibration is essential to maintain the gauge's accuracy over time, as factors like wear and environmental conditions can affect its performance.
Tools and Equipment Needed
Before you begin calibrating your forged brass case gauge, gather the following tools and equipment:
- Standard reference pressure gauge
- Adjustable wrench
- Teflon tape
- Soft cloth
- Cleaning solution
- Lubricating oil
Step-by-Step Calibration Process
Step 1: Preparation
- Turn off the pressure source connected to the gauge.
- Remove the pressure gauge from its installation point using an adjustable wrench.
- Clean the gauge thoroughly using a soft cloth and cleaning solution to remove any dirt or debris.
Step 2: Comparison with Reference Gauge
- Connect the standard reference pressure gauge to the same pressure source.
- Apply the pressure slowly and observe the readings on both gauges.
- Note any discrepancies between the readings.
Step 3: Adjustment
- If there is a difference in readings, use the adjustable wrench to gently turn the calibration screw on the forged brass case pressure gauge.
- Turn the screw clockwise to increase the pressure reading or counterclockwise to decrease it.
- Make small adjustments and recheck the readings until they match those of the reference gauge.
Step 4: Reinstallation
- Once the calibration is complete, apply a thin layer of Teflon tape to the threads of the pressure gauge.
- Reinstall the gauge in its original position and tighten it securely using the adjustable wrench.
Step 5: Testing
- Turn on the pressure source and verify that the gauge accurately reflects the pressure.
- Check for any leaks around the gauge and tighten connections if necessary.
- If the gauge is functioning properly, the calibration process is complete.
Regular Maintenance and Care
To ensure the continued accuracy and performance of your forged brass case pressure gauge, follow these maintenance tips:
- Clean the gauge regularly to remove dirt and debris.
- Inspect for any signs of damage or wear, such as cracks or corrosion.
- Lubricate moving parts as needed with a suitable lubricating oil.
- Schedule regular calibration checks to verify accuracy and make adjustments if necessary.
Conclusion
Calibrating a forged brass case pressure gauge is essential for maintaining accuracy and reliability in pressure measurement applications. By following the step-by-step process outlined in this guide and performing regular maintenance, you can ensure that your pressure gauge delivers accurate readings and operates smoothly.
Read Also...How Does a Pressure Gauge Snubber Work?




Comments