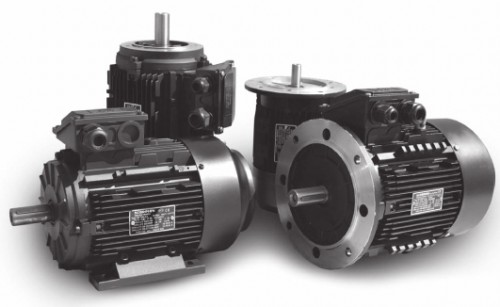
Instructions to conduct electric motors repairs

Electric motors used in day to day life often fail to work for the reasons that you (not an expert) can also easily spot. Here in this article we have discussed three potential causes that can be ruled out. To make the tips more effective we have explained the solution in step by step procedure. Isolate defective circuits and components with the given instructions. But when you are about to go for electric motor repairs and making any modification, make sure you unplug the motor.
Looking out for power
supply
Step 1: Start with checking the availability of power supply. Plug a working lamp in the socket you use for motor then switch it on.
Step 2: If socket has the power and still motor is not running, there might be problem in circuit breaker. Check if the circuit breaker is tripped, i.e. in off condition, reset it to on and plug the motor to the power. If the motor doesn’t start, it means problem is in the machine.
Step 3: Remove motor’s power cord for inspection and connect it with a jumper wire. Connect voltmeter’s lead with the two wall plug connectors and set the meter to RX1 scale, then bend and twist the power cord. If the meter reads “zero” ohms it means cord is fine, if it reads high it means there is a short in the cord and need to be replaced.
Step 4: Inspect the power switch of the electric motors. Take out two wires from the switch and connect it to the lead of voltmeter abs set the meter to the RX1 scale. Turn the switch on and off. The meter should read “zero” in off condition and jump to high in off position. If meter doesn’t show any change the switch has to be replaced.
Troubleshooting
problems in Commutator and Brushes
Step 1: Loose housing screws and then remove them. Field coil and commutator will be exposed then take out motor housing.
Step 2: Check if commutator is dirty, oily or has metal dust. Clean it and then polish with sandpaper.
Step 3: Check if the commutator’s bar is single pitted or discolored. It indicates there is an open circuit in the field coil.
Step 4: Check commutator bar using a voltmeter. Set it to RX1 scale, if it reads same, means commutator is fine; if it reads high, it means there is an open circuit; if it reads “zero” it indicates short circuit.
Step 5: Change the brushes and spring if it is worn out.
Checking a Field Coil
Step 1: Clip meter probes to each field coil leads and set the meter to RX 100 scale.
Step 2: If you get high reading, replace the coil, it indicates open circuit and defect in the coil.
Step 3: If the reading is low, it indicates short circuit within the field coil. Replace the coil as soon as possible.


Comments