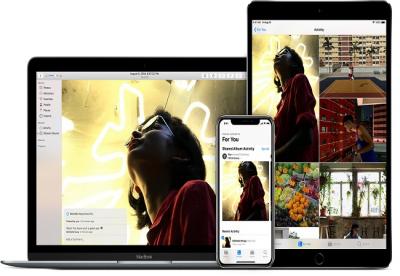
How to Use Photo Albums on iOS Devices
In your iOS devices, you may want to organize or manage all your images stored. The Photo app on your smartphone enables you to access the image or video that you want.
You may find all types of pictures & other videos like your selfies, Panoramas, Streams, Videos, and Camera Roll Photos, and so on. You can find and search all of them from their particular dedicated folder. You may add extra images to customize & arrange them.

Here is how you can organize your images and videos in the Photo app on your iPhone or iPad.
Creating fresh albums through the Photos App on your device
- Firstly, tap the “Photos” app to open. It is generally located on your application drawer or the Home Screen.
- Hit the “Albums” tab situated at the extreme lowermost portion.
- Then you have to hit the “Add” tab indicated by the “+” symbol located at the top-left side edge.
- Now you have to provide the name of your choice for the fresh album that you have created.
- Hit the “Save” button.
- Now, select all your desired images & videos that you wish to add to your new Photos album.
- You have to hit the “Done” tab located at the top-right edge of your screen.
- Then you will see that your newly created album has a new location. It will be situated inside the “Albums” tab.’
Creating Fresh Albums in the Photos app on your iOS 13 & iPadOS 1
- First of all, open your Photos application on an iOS device.
- Then you have to hit the “Albums” tab.
- Then hit the “+” signed tab located at the top of the left side edge.
- Now, hit the “New Album” tab.
- Then you have to provide a name to your album.
- Hit the “Save” tab.
- Next, you have to select images that you desire to add.
- After that, hit the “Done” tab.
Creating freshly shared albums inside your Photos app on iOS 13 & iPad 13
- First of all, tap the “Photos” tab situated on your iOS device (iPhone or iPad).
- Then hit the “Albums” tab.
- Now you have to tap the “+” signed button located at the top left side edge on your screen.
- Here you have to hit the “New Shared Album” option.
- Then provide the name of your choice to your new album.
- Next, you have to tap the “Next” button.
- Now type the names of members.
- Then you have to hit the “Create” button.
- Touch your shared album.
- Then hit the “+” symbolic icon to add images.
- Now, select the images that you wish to add on to your album.
- After that, you have to hit “Done.”
Adding-on your images and videos to the current album through the Photos app on your iPhone or iPad
- First of all, hit the “Photos’ app located on your device’s home screen.
- Now hit the album in order to access all its contents.
- Hit the “Select” option located on the upper-right portion of your screen.
- Now you have to hit all the images and videos which you wish to add.
- Then, touch your desired album in which you wish to store your images and videos. Alternatively, you may select the “New Album” option to initialize a fresh album.
You may create your albums on either a temporary or permanent basis as per your convenience, time, and location.
Adding images & videos to your existing albums through the Photos app running on iOS 13 devices
- Firstly, launch the “Photos” app on your iOS device.
- Hit the “Photos” tab
- Click the “Days” or the “All Photos” option.
- Now you have to tap the “Select” tab.
- Then you have to choose the photos that you wish to add on to the particular album.
- Then you have to hit the share icon located at the bottom left edge of your screen. It appears like a blue-colored box with an arrow forwarding upward.
- Now hit the “Add to album” or “Add to Shared” option.
- You have to touch the album in which you wish to add your images.
- Now, your images will automatically transfer to the selected album.
Sherry Martin is a Microsoft Office expert and has been working in the technical industry since 2002. As a technical expert, she has written technical blogs, manuals, white papers, and reviews for many websites such as office.com/setup.

Comments