How to Install Nest Outdoor Camera?
When it’s about the security of your home, considering
installing a camera is a good step to take. You can install an outdoor nest
camera and can get amazing security benefits. Whether at your home or not, you
will have information about what’s happening around your home.

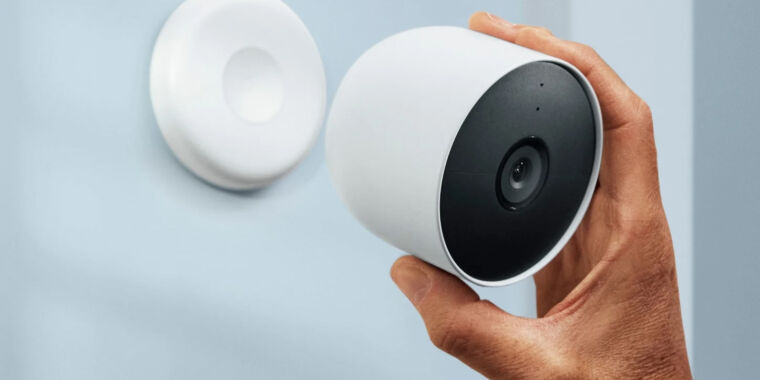
Nest camera is
one of the best security cameras you can install easily at home and enjoy
several features. It also has a night vision feature, ensuring clear video
graphics and images. However, to enjoy all such benefits, make sure that you
follow the proper installing steps and then install it.
Choosing Right Location
The first thing to consider while installing the nest camera
is to decide where to install it. The location should be appropriate from where
you can get the best view and identify suspicious activity.
You should choose an area having proper lighting and clear
sight. Also, try to mount the camera that should be a minimum of 10 feet off
the ground. Also, consider the privacy of gathered people and consider placing
the camera not too close to that gathering area.
Installing Mounting Plate
Another thing to consider is installing the mounting plate,
which gives the camera a secure and safe foundation to keep it in its place.
Before installing, collect all the necessary tools like a screwdriver, drill,
screws and mounting plate.
First, attach the plate on a flat surface using a drill and
then adjust the camera to the desired directions for optimum angles. The main
thing is to attach the plate securely to prevent any kind of problem in future.
Attaching the Camera
Another step is attaching the camera to the mounting plate.
The attachment requires technical knowledge, as this will ensure the security
of the camera placement and its stability in all weather conditions.
For this, look out for the location of your camera and
determine the mounting location. Once you are done deciding the location and
mounting the plate securely, attach the camera properly. Place the camera by
lining it up with the mounting bracket.
Connecting To Power Source
The next step of installing an outdoor nest camera is connecting it to a power source, which you can do using different methods.
If you are installing it near an outlet, you can use a power adapter and plug it into the outlet.
If you want to use a method other than an outlet, you can choose a USB cable by connecting it to any USB-C port device like a battery pack or laptop.
Setting up App
You can easily control the working of the outdoor nest
camera by installing the app on your device. You can download the app on your
laptop, phone or tablet. After installing it on your device, connect the camera
to a Wi-Fi network.
You can now easily monitor and control the settings by
setting up your account. Also, you can access all the advanced features on your
device, including video recordings, motion alerts and other security systems.
Comments