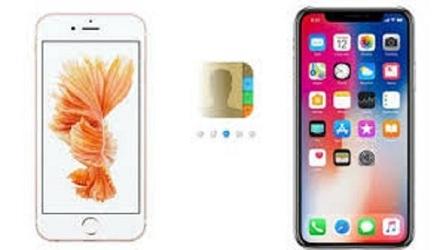
How to Easily Transfer Pictures from iPhone to iPhone?

Clicking new pictures with your mobile at every exciting happening has become the new method of storing memories. Be it holiday snaps, nature photography, selfies- the number of pictures being taken every day is increasing. An estimated 1 trillion pictures were taken in the year 2017, which is a humongous number. When we are dealing with so many images in our device, we sometimes seem to arrive at a juncture when we have to transfer pictures from our old iPhone to our upgraded one or ask our photographer friend to send them to us.
That is when these 3 easy methods for transferring pictures from iPhone to iPhone will come in handy.
1. TouchCopy
TouchCopy software allows you to manage your iPhone with your computer. All kinds of data like Music, Messages, Pictures, Contacts and more can be sent to and from your iPhone using your computer.
Follow the underneath steps to transfer pictures from iPhone to iPhone
1. Connect your iPhone to the PC and open TouchCopy.
2. Click on the Photos option and then select Copy Photos.
3. Copy the desired pictures on your computer and then close TouchCopy and safely remove your iPhone.
4. Connect the other iPhone and open iTunes.
5. Click the Device option in iTunes and then click Photos.
6. Select Sync Photos from Folder or the Application and then Click Apply.
2. iCloud
iCloud gives you the easy option to access the data stored in its cloud space from an array of devices you use by logging in with your Apple ID, provided you have access to the internet.
Let’s explore the way to use iCloud to transfer pictures from one iPhone to another
1. Go to settings on the iPhone and then tap on your name, select iCloud, and tap on Photos.
2. Toggle on the ‘iCloud Photos’ option.
3. Now, choose one of the two options: ‘Optimize iPhone Storage’ and ‘Download and Keep Originals’.
4. Photos will now begin to upload to iCloud.
5. When the upload process is over, turn on ‘iCloud Photos’ on the secondary device.
6. On the other iPhone, select the ‘All Photos’ option under the Photos app to view all Photos in iCloud.
3. iTunes
The iTunes method comes with some restrictions and is difficult to use for transferring pictures. Like, iTunes can’t be used for transferring pictures if iCloud is toggled on; iTunes can be used to transfer pictures only via the device’s Camera Roll, and there’s a risk of losing photos without a backup for them if you sync photos from iTunes.
Although method 1 is recommended for transferring photos, we’ll still look into how to use iTunes for transferring photos.
1. First, we’ll have to transfer pictures from your iPhone to your computer.
- Windows- Hook up the iPhone to your PC > Move to the Autoplay screen and select the option called Import Pictures and Videos. Choose the destination folder and then select the Import option.
- Mac- Connect iPhone to Mac, and then open iPhoto. Choose the pictures for transfer and click Import Selected.
2. Now the imported photos can be transferred from the PC to the iPhone.
- Connect the iPhone to your PC.
- Open iTunes.
- Tap on the icon of your device.
- Select ‘Photos’ option on the sidebar.
- Place a checkmark on the box next to ‘Sync Photos’ and choose a folder or an application.
- Apply the changes.
The above methods will guide you through transferring your pictures from iPhone to iPhone.
Source :- https://mcafee-activate-mcafee.com/how-to-easily-transfer-pictures-from-iphone-to-iphone/
Karen Minton is a creative person who has been writing blogs and articles about cybersecurity. She writes about the latest updates regarding mcafee.com/activate and how it can improve the work experience of users. Her articles have been published in many popular e-magazines, blogs, and websites.


Comments