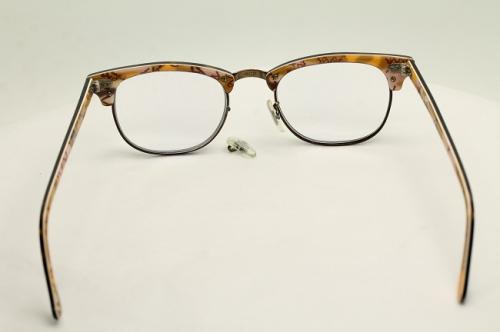
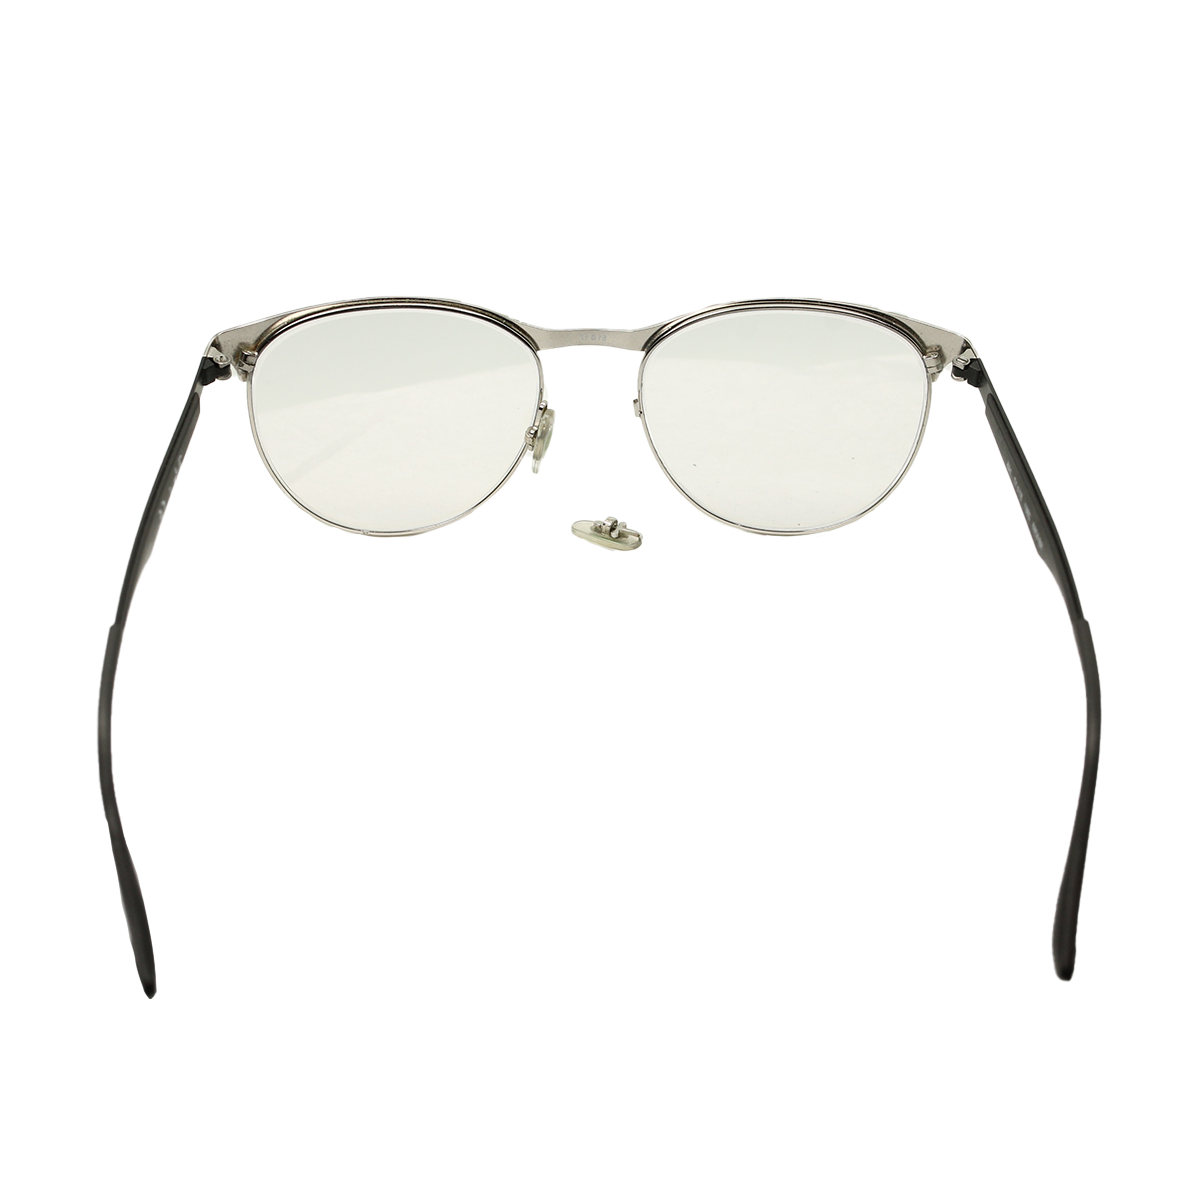
DIY Sunglasses Maintenance: Step-by-Step Tutorial on Replacing Nose Pads


Sunglasses are not just a stylish accessory; they also serve the crucial
function of protecting our eyes from harmful UV rays. Over time, however, the
wear and tear on your favorite pair can lead to discomfort, and one of the
common issues is worn-out or damaged nose pads. Fear not, as this step-by-step
tutorial will guide you through replacing nose pads on your sunglasses,
allowing you to extend the life of your shades and keep them comfortably on
your face.
Materials Needed
- Replacement Nose Pads: Purchase compatible nose pads for your sunglasses. They come in various shapes, sizes, and materials, so choose ones that match your frame and provide the desired comfort level.
- Screwdriver: Most sunglasses have small screws that secure the nose pads. Ensure you have the right size of screwdriver to avoid damaging the screws.
- Tweezers: Use tweezers to handle small parts precisely, making the replacement process smoother.
- Cleaning Solution: Before installing the new nose pads, it's a good idea to clean the frames thoroughly. Use a mild cleaning solution and a soft cloth to remove dirt or residue.
Step-by-Step Guide
1. Gather Your Tools
Before you start, ensure you have all the necessary tools and
replacement nose pads.
2. Remove Old Nose Pads
Use the screwdriver to carefully remove the screws holding the old nose
pads in place. Keep the screws in a safe place, as you'll need them later.
3. Clean the Frame
Take this opportunity to clean the frame and the area where the nose
pads were attached. A clean surface ensures a secure fit for the new nose pads.
4. Prepare the Replacement Nose
Pads
Take the new nose pads and inspect them. They usually come with
pre-drilled holes for the screws. Use a small tool to widen the holes for a
perfect fit if necessary.
5. Align and Attach the New
Nose Pads
Position the replacement nose pads on the frame, aligning them with the
holes. Use the screws you removed earlier to secure the new nose pads in place.
Be gentle to avoid over-tightening and potentially damaging the frame.
6. Double-Check Alignment
Once the nose pads are attached, ensure they are symmetrically aligned.
Adjust if needed for maximum comfort.
7. Clean and Polish
Wipe your sunglasses with a soft cloth to remove fingerprints or
smudges. This step will not only enhance the appearance but also improve
visibility.
8. Test for Comfort
Wear your sunglasses and assess the comfort level of the new nose pads.
Make any final adjustments as necessary.
Conclusion
Following this simple DIY glasses repair tutorial, you can replace the
nose pads and breathe new life into your favorite eyewear. Regular maintenance
and care will not only extend the lifespan of your sunglasses but also ensure
that you enjoy optimal comfort and protection for your eyes. So, grab your
tools, get those replacement nose pads, and give your shades the upgrade they
deserve!
Post Your Ad Here

Comments