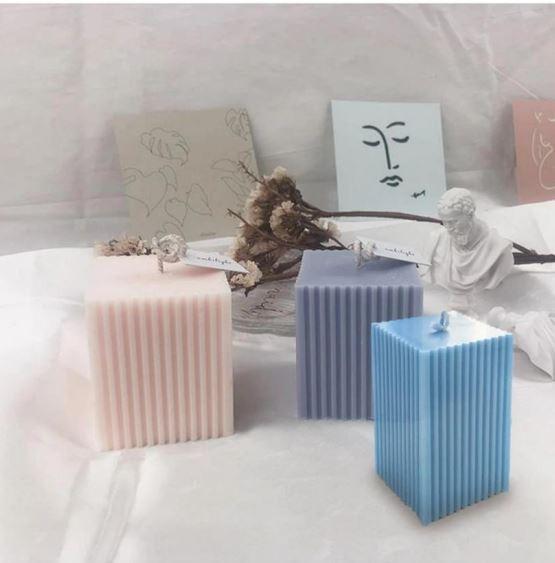
Crafting Custom Candles with Molds: A Step-by-Step Guide

Creating your own candles with Candle Mold can be a rewarding and enjoyable process. Whether you’re after unique colors, shapes, or just want to explore a new hobby, making candles with molds is easier than you might think. Here’s how to get started with simple materials and techniques.
Essentials for Candle-Making
To begin, gather these supplies, which are easily available online from platforms like Amazon or Etsy:
Candle Molds: Options like pillar molds, shell shapes, long spirals, and more.
Candle Wax Chips: Soy wax is recommended, though alternatives are available.
Candle Wax Dye: Available in liquid or chip form.
Lubricant: Canola oil spray or any similar oil.
Wick Material: Cotton wicks work best.
Support Tools: A wire or paper clip.
Cutting Tools: Scissors.
Melting Pot: Preferably one with a spout for easy pouring.
Step 1: Prepare Your Mold with Lubricant
Begin by coating the inside of your mold with oil. This step ensures the candle will easily slide out once it has set. If your mold has a removable base, detach it before applying oil to avoid messy results when threading the wick through the hole.
Step 2: Position the Wick
Trim the wick at an angle to make threading it through the mold’s base easier. Pull the wick through until there’s about an inch of overhang at the bottom. Cut the base end, leaving another inch of wick. Secure the base of the mold, and use a wire or clip to keep the wick taut and centered.
Step 3: Melt the Wax
Heat the wax in a pot until it becomes a liquid. While 140°F is the official guideline, simply ensuring the wax is fully melted should suffice. Use an old pot, as cleaning wax residue can be tedious.
Step 4: Add Color to the Wax
Incorporate dye into the melted wax, using a chopstick or similar tool to stir it in. Dry dye chips offer more control over the intensity of the color, but liquid dyes also work well. Keep in mind that the final color may differ slightly after the wax sets, so experimentation is key. Mistakes can be repurposed as dye for future projects.
Step 5: Pour the Wax into Molds
Carefully pour the colored, melted wax into your prepared mold. Fill it to the top, ensuring the wick remains centered.
Step 6: Unmold Your Candle
After the wax has fully set, remove the base of the mold and gently push the candle out. If the candle resists, place the mold in the freezer for about 10 minutes to make removal easier.
Final Touches
Trim the wick to the desired length, and your candle is ready! Enjoy your handcrafted creation or gift it to someone special.
Pro Tip
Experiment with different molds, dyes, and wax types to create custom candles that reflect your unique style. Whether for personal use or gifting, the possibilities are endless!
Your One-Stop Solution for Candle-Making Molds: VedaOils
When it comes to sourcing high-quality materials for candle making, VedaOils stands out as a reliable and versatile option. Whether you’re a beginner exploring the craft or a seasoned candle maker, VedaOils provides a comprehensive range of candle-making molds to suit all your creative needs.
Why Choose VedaOils for Candle-Making Molds?
Variety of Shapes and Sizes: From classic pillars and decorative spirals to trendy shells and geometric shapes, VedaOils offers Candle moulds that help you create unique and stunning candles.
Durable and Reusable Molds: Made with premium materials, these molds are designed for long-term use, ensuring value for your investment.
Perfect for DIY and Commercial Use: Whether you’re crafting candles for personal enjoyment, gifts, or your small business, VedaOils molds cater to all purposes.
Additional Candle-Making Supplies at VedaOils
Along with molds, VedaOils is a hub for all things candle making. You can find:
- Wax Chips: Soy, paraffin, and other varieties.
- Candle Dyes: Vibrant colors in liquid or chip form.
- Wicks and Wick Holders: For clean and efficient burning.
Visit VedaOils to explore their extensive collection and elevate your candle-making journey with premium products tailored to your needs.
Post Your Ad Here

Comments