Building an Outdoor Home Office

As remote work becomes increasingly common, the need for a dedicated workspace has never been greater. For many, the solution lies in creating an outdoor office that offers a peaceful retreat away from the distractions of the home.
However, building an outdoor office requires more than just assembling walls and furniture; you need to consider utilities, most notably power. Installing underground power is the most efficient and safest method to supply electricity to your outdoor office.
This article explores how to approach such a project, including why underground power is necessary, the steps involved, and the importance of contacting an equipment hire company for trenching equipment.

Planning Your Outdoor Office: Key Considerations
Before embarking on the construction of your outdoor office, it’s essential to thoroughly plan the project. This includes everything from choosing the location to considering how the space will be powered. Some of the factors to consider include:
Location: The placement of your outdoor office should strike a balance between convenience and tranquillity. Ideally, it should be far enough from the house to offer privacy but close enough for easy access to utilities. Avoid placing the office near waterlogged areas or steep inclines.
Size: Think carefully about the size of your office. If you’re the sole occupant, a smaller structure may suffice, but if you plan to hold meetings or require additional storage space, a larger footprint may be necessary. The design should also consider future needs in case your working conditions change.
Materials: Use high-quality, weather-resistant materials to ensure the longevity of your outdoor office. Sustainable materials such as timber or recycled steel can provide both aesthetic appeal and durability. Good insulation is also critical to regulating temperature and maintaining comfort year-round.
Power Supply: One of the most important aspects of any workspace is electricity. Ensuring your outdoor office has a reliable power supply is essential for running office equipment, lighting, and climate control systems.
With these factors in mind, your next step is to plan for the installation of underground power.
Why Install Underground Power?
Running electricity from your home to the outdoor office via underground cables is the most efficient and safest option. While it is possible to run overhead cables or use extension cords, these methods present numerous risks, such as exposure to weather, potential damage from falling branches, or accidental tripping hazards. Underground power offers several advantages:
Durability: Cables buried underground are far less likely to be damaged by external factors, such as storms or accidental cuts during gardening or landscaping.
Aesthetics: Underground power eliminates unsightly cables that could detract from the natural beauty of your backyard or garden.
Safety: Electrical systems installed underground are generally safer, reducing the risk of electrical fires, short circuits, or accidental electrocution.
By opting for underground power, you can ensure a clean, safe, and long-term power supply to your outdoor office.
Steps to Install Underground Power
1. Consult a Licensed Electrician
Before beginning any work on your project, it is vital to consult with a licensed electrician. While some aspects of the project can be handled as a DIY endeavour, the actual electrical connections should always be performed by a professional. An electrician will:
- Assess your home’s existing electrical system.
- Determine the capacity required to power your outdoor office.
- Advise on local regulations and compliance issues.
In Australia, it is essential to adhere to the wiring standards outlined in the Australian Standard AS/NZS 3000:2018, which governs the safe installation of electrical wiring systems.
2. Calculate the Distance and Requirements
Measure the distance between your home’s electrical panel and the site of your outdoor office. This will determine the length of cable required and whether additional infrastructure, such as a sub-panel, is necessary.
Cable Type: For underground installations, you will need UF (Underground Feeder) cable, which is designed to be buried directly underground without additional conduit in some cases, depending on the depth and regulations.
Depth of Trenching: In most parts of Australia, the minimum depth for burying electrical cables is between 600 mm and 900 mm. This depth ensures that the cables are well protected from surface activities.
3. Obtain Necessary Permits
In Australia, certain local councils may require permits before digging trenches or installing electrical wiring. It is crucial to verify these requirements before beginning the project. Your electrician can guide you through this process and ensure that your installation complies with local laws.
4. Trenching for Underground Power: Equipment Hire
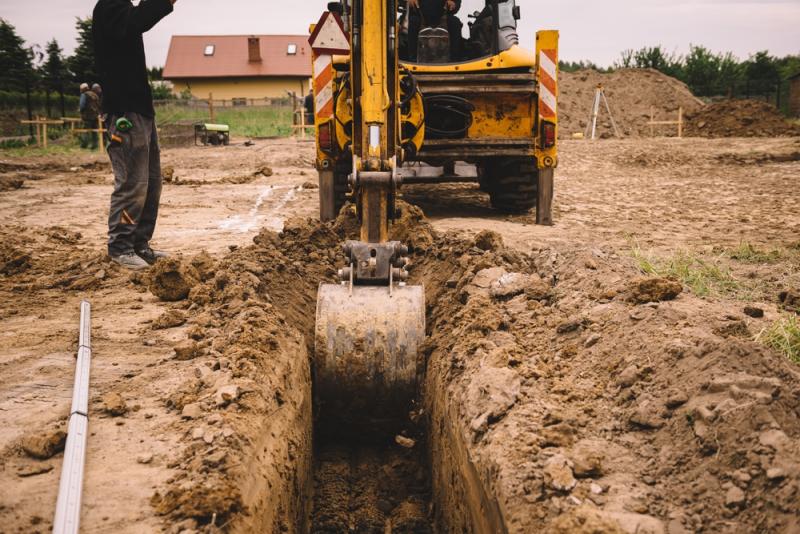
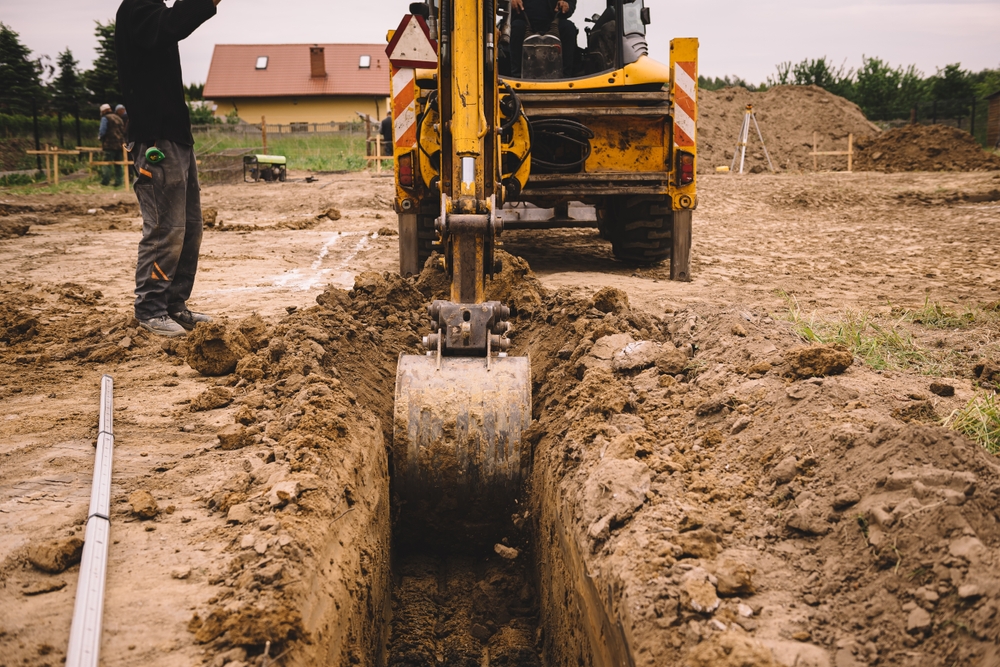
Digging a trench for the power lines is one of the most labour-intensive parts of the process. While it is possible to dig manually with shovels, this can be time-consuming, especially if the trench needs to be long or deep. This is where trenching equipment hire becomes invaluable.
Why Hire Trenching Equipment?
Hiring trenching equipment can save significant time and effort, especially for large or complex projects. Professional trenching machines are designed to dig precisely to the required depth and width, reducing the manual labour involved.Choosing the Right Trencher
Equipment hire companies offer various types of trenchers, from small, walk-behind units to large, ride-on models. The size of the trencher you need will depend on the length of the trench and the type of soil. Hard, compacted soil may require a more powerful trencher, while softer ground can be handled with smaller equipment.Cost and Convenience
Hiring trenching equipment is generally affordable, especially when compared to the cost of purchasing a machine outright. You also benefit from the convenience of having the equipment delivered to your property, with the option to rent it for only as long as you need.
Digging the Trench
Once your trencher is delivered, follow these steps to safely and efficiently dig the trench:
Mark Utility Lines: Before digging, contact Dial Before You Dig to ensure that there are no existing utility lines where you plan to trench. This is a critical safety step to prevent damaging gas, water, or telecommunication lines.
Prepare the Site: Clear the area where you plan to dig, removing any obstacles such as rocks, tree roots, or garden features.
Digging the Trench: Use the trencher to dig the trench to the required depth. Ensure that the sides of the trench are straight and the bottom is smooth to avoid damage to the electrical cable once it’s installed.
Lay the Conduit: In many cases, Australian regulations require electrical conduit to protect the underground cable. Lay the conduit in the trench, ensuring it is level and free from sharp objects that could cause damage.
Electrical Cable Installation and Connection
With the trench dug and conduit in place, your electrician will then pull the electrical cable through the conduit and make the necessary connections. This will include:
Connecting to the Home’s Electrical System: Your electrician will safely connect the outdoor power line to your home’s electrical panel, installing any necessary switches or sub-panels.
Final Testing: Once the electrical system is connected, the electrician will test the power supply to the outdoor office to ensure that everything is functioning correctly and safely.
Filling the Trench
After the electrical installation is complete and has been tested, the trench can be filled back in. Pack the soil firmly to avoid sinking over time, and consider placing a warning tape over the conduit to alert future landscapers or diggers of the buried cable.
Finalising Your Outdoor Office
With the power installed and the trench filled, your outdoor office is nearly complete. At this point, you can focus on finishing touches such as:
Heating, Cooling, and Ventilation: Depending on your location, you may need a small air conditioning unit or portable heater to ensure the office is comfortable year-round.
Lighting: Install energy-efficient lighting such as LED fixtures to keep electricity usage low.
Furniture: Invest in ergonomic office furniture that supports good posture and productivity.
Conclusion
Building an outdoor office can be a rewarding project that enhances your work-life balance and productivity. By installing underground power, you ensure a reliable and safe source of electricity that is free from the hazards of exposed cables or extension cords. The process of trenching for power installation can be made significantly easier by contacting an equipment hire company and renting trenching machinery.
With careful planning, the right equipment, and professional assistance from an electrician, your new outdoor office will be a functional and enjoyable space for years to come.