What is 3 Point Lighting?

Shooting portraits by using studio flashlights is an
exciting experience, particularly when you are using more than one light. From
time immemorial, photographers are using this ‘3-point’ lighting for
their portrait work. This is nothing but using three studio flashlights
for Portrait
Photography. If you are using two lights, then it becomes two-point
lighting and four lights it is four-point lighting.
Three-point lighting set up is the most popular
kind of lighting for studio and location portraits for any purpose.
Why
do we need three-point lighting?
Using
three lights and shooting in a 3 point lighting set-up will give you the
advantage of showing the person with a good three-dimensional effect including
the details of the shadow
areas and the details of the background.
Three
Point Lighting:
·
Key
Light
·
Fill
Light
·
Back
Light / Background Light
Key
Light
Well,
the first light is known as the ‘Key
light’ – the main light which decides the effect of lighting on
a person, when you shift the light either horizontally or vertically.
Fill
Light
The
second light, known as the ‘fill
light’, will manage the details of the shadows created by the
key light. Based on the ratio between the key and the fill light the contours
and the feel of three-dimension will change in a portrait. This is generally
kept at the opposite side of the key light.
Back
Light /Background Light
The
third light, known as the ‘background
or backlight will bring in the separation of the subject from
the background especially when the background is dark.
·
As
a ‘background light’ the third
light is aimed at the background to make it brighter or to show some details in
it.
·
As
a ‘backlight’ also known as the
‘hair light or rim light’, the third light is aimed at the back of the subject
or the head to make it brighter at the outline so that the subject is separated
from the dark background.
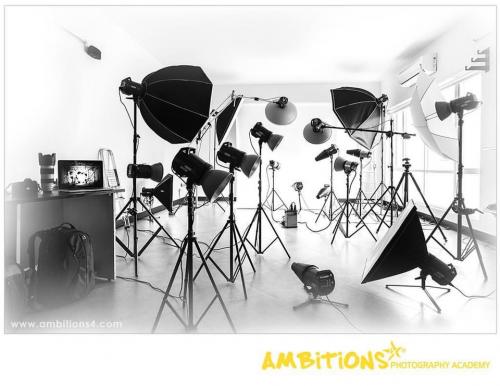
Here
is an example where the three-point
lighting set up is creatively used. I have shown the
effects of this three-point lighting and illustrated through a lighting diagram
so that you can understand it and use it when you shoot a portrait.


Comments