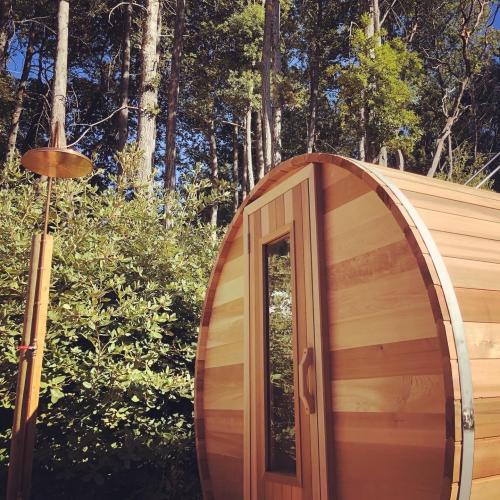
Building Your Own DIY Sauna Kits
Have you decided to go with your plan of building your own hot tub? If yes, it’s imperative to have a good set of plans prepared specifically for the type of spa you want to install at home. If you live nearer to a local pool and spa store, it’s a logical place to look out. You can ask their employees and know their plans. Most of these spa and pool stores at least have one professional with a wealth of information to help in this type of project.
If you’re not fortunate enough to live up-close to these types of stores, then the Internet is a right option to go for. Even if you do live near a shopping outlet, don’t overlook the diverse research abilities at your fingertips. Searching anything is just simple; all you need to type “hot tub plans” on Google or Yahoo or something similar.
Once you’ve decided your set of plans, read them thoroughly. Remember that, a project like building a hot tub is more often won or lost in the planning stages. Therefore, it’s highly suggested that you should narrow down your steps in own words before buying the necessary supplies. The more you plan prior for such things, the faster and smoother your project will go along.
Here are a few proven tips for planning your DIY sauna room layout:
How do you plan the layout of your sauna room?
- Planning the size of your sauna room.
You can build you sauna in any kind of size or shape virtually. For instance, if you love lying down in your sauna, you need to allow around 6’ in at least one direction.
- Planning the door locations and its swing direction.
Your sauna door should swing out of the room not inside the room. If you really need better bench layout, you need to keep your door and heater on a long wall next to each other, if possible.
- Planning the heater location.
You should keep the heater preferably near the door wall. Please keep in mind that, cold air will be drawn from the door naturally along the floor to the heater where it will heat up and rise to the ceiling naturally.
- Planning the bench layout.
The normal depth of bench is around 20” and height is either 36” for upper bench or 19” for lower bench. You can use custom sizes best suiting your requirements. However, you can sit or lie down inside your sauna; so include optimal space of bench as the space allows. Please note that, upper bench will be the warmer one.
The DIY Sauna Kit Supplies
- Stainless steel sauna heater with digital thermostat and controller
- Hi-temperature sauna rocks
- A+ better, clean, clear, kiln-dried, tongue and groove Western Red Cedar for walls and ceiling up to 7’ high
- V-joint T&G, clear select kiln dried western red cedar 3/8” inch thick, pre-sanded
- Insulated cedar glass door with clear cedar frame, door stop molding, installed brass-plated roller latch, handles, hinges and all hardware included
- Sauna thermometer
- Full benches with dual heights (including L-shaped)
- Cedar vent kit
- Cedar heater guard rail
- 2 x vapor-proof sauna lighting for wall and ceiling mount
- Floor pool tiles for warm and dry feet
- Aluminum foil vapor barrier to cover ceiling and walls
Bottom Line –
Above are all the useful tips and suggestions to consider installing DIY sauna kits to ensure relaxing, amazing sauna experiences. All you need to do is to buy DIY sauna kits and their necessary supplies to build your sauna in the best way as possible. Do a thorough research and make a perfect selection for your sauna requirements and desires.
Author Information –
This article is written by Cedar Barrel Saunas, a premier sauna supplier specializes in providing DIY sauna kits and supplies maintaining optimal quality, efficiency and performance in the long run at the most competitive prices.


Comments