How to Make Classic Pepperoni Pizza at Home
There’s nothing quite like a classic pepperoni pizza. The crispy yet chewy crust, tangy tomato sauce, gooey melted cheese, and perfectly spiced pepperoni create a symphony of flavors that’s hard to beat. While ordering from your favorite pizzeria is easy, making your own pepperoni pizza at home is not only fun but also incredibly rewarding. In this guide, I’ll take you through every step of making a delicious homemade pepperoni pizza from scratch.
Ingredients You’ll Need
Before we get started, gather these essential ingredients:
For the Dough:
- 2 ¼ teaspoons (1 packet) active dry yeast
- 1 ½ cups warm water (110°F)
- 3 ½ cups all-purpose flour
- 2 tablespoons olive oil
- 1 teaspoon salt
- 1 teaspoon sugar
For the Sauce:
- 1 (14-ounce) can crushed tomatoes
- 2 cloves garlic, minced
- 1 teaspoon dried oregano
- 1 teaspoon dried basil
- ½ teaspoon salt
- ½ teaspoon black pepper
- 1 tablespoon olive oil
For the Toppings:
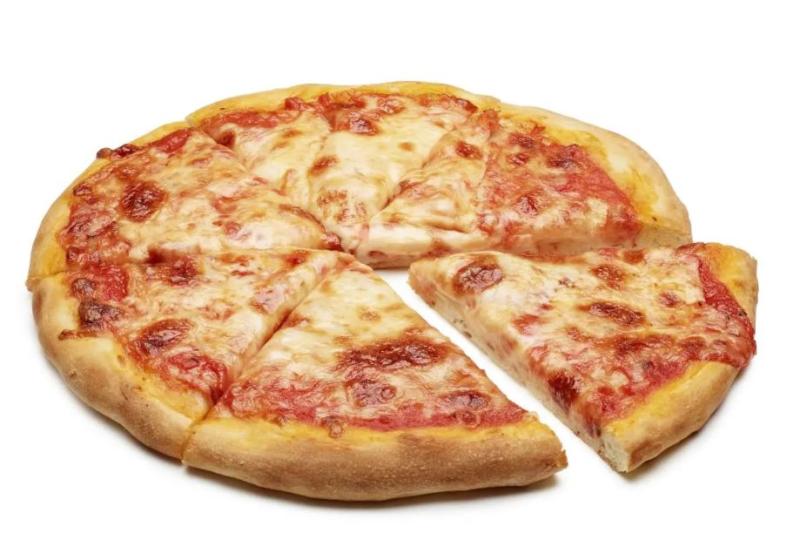
- 2 cups shredded mozzarella cheese
- 20-25 slices of pepperoni
- ¼ teaspoon crushed red pepper flakes (optional)
- 1 tablespoon grated Parmesan cheese
Step-by-Step Instructions
Step 1: Make the Dough
A great pizza starts with great dough. Here’s how to make it:
- In a large mixing bowl, combine warm water, yeast, and sugar. Let it sit for 5-10 minutes until it turns foamy. This means the yeast is activated.
- Add olive oil, flour, and salt to the bowl. Mix until a shaggy dough forms.
- Transfer the dough to a floured surface and knead for about 8-10 minutes until it becomes smooth and elastic.
- Place the dough in a lightly oiled bowl, cover with a kitchen towel, and let it rise for about 1 to 1.5 hours until it doubles in size.
Pro Tip: If you don't like pepperoni pizza or want to add some more flavors to your meals, it's better to check out Yours Own Menu to see if you can find some alternatives.
Step 2: Prepare the Sauce
While the dough is rising, let’s make a simple yet flavorful pizza sauce:
- In a small saucepan over medium heat, add olive oil and minced garlic. Sauté for about 30 seconds until fragrant.
- Pour in the crushed tomatoes and stir well.
- Add oregano, basil, salt, and black pepper. Stir and let the sauce simmer for 10-15 minutes, allowing the flavors to blend.
- Once done, remove from heat and set aside.
Step 3: Preheat the Oven & Roll Out the Dough
- Preheat your oven to 475°F (245°C). If you have a pizza stone, place it inside to heat up.
- Once the dough has risen, punch it down and transfer it to a floured surface.
- Roll out the dough into a 12-inch circle (or your preferred shape). If you like a thicker crust, don’t roll it out too thin.
- Transfer the rolled-out dough onto a pizza peel or baking sheet lined with parchment paper.
Step 4: Assemble the Pizza
Now for the fun part—putting it all together!
- Spread an even layer of sauce over the dough, leaving about ½ inch of space around the edges for the crust.
- Sprinkle shredded mozzarella cheese generously on top.
- Arrange the pepperoni slices evenly across the pizza. If you love extra pepperoni, go ahead and double up the layers!
- (Optional) Sprinkle a pinch of crushed red pepper flakes and grated Parmesan for extra flavor.
Step 5: Bake to Perfection
- Transfer the pizza to the preheated oven and bake for about 12-15 minutes or until the crust is golden brown, the cheese is bubbly, and the pepperoni starts to crisp.
- Once baked, remove the pizza from the oven and let it rest for a couple of minutes before slicing.
Final Touches & Serving
- Slice the pizza using a sharp knife or a pizza cutter.
- Serve hot with a side of garlic butter, ranch, or marinara sauce for dipping.
- Pair it with a cold soda, iced tea, or your favorite beverage for the ultimate pizza night!

Comments (1)
Silvia A.2
Chef
Great recipe! I tried making a classic pepperoni pizza at home recently, and nothing beats a wood-fired oven for that perfect crispy-yet-chewy crust. The high heat really makes a difference! I didn’t find this recipe at the time, but I followed the Wood-Fired Pepperoni Pizza Recipe from ilFornino, and it turned out amazing. Definitely trying this one next!