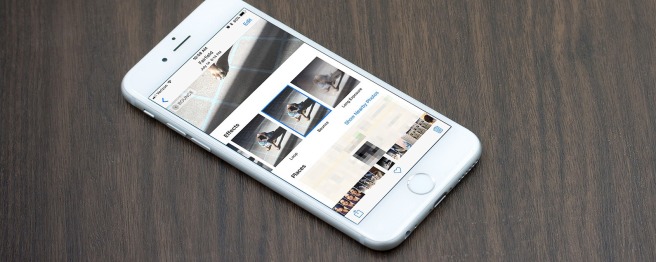
How to Turn iPhone Live Photos into GIFs or Videos
The only drawback of a Live Photo is that they hold a few seconds of animation as a video when you hit the shutter tab. In case you wish to share a particular Live Photo to anybody, then you have to convert it into GIF or a video clip. In case you wish to share your captures with your friends or family, then we can help you out. Read through the blog and learn how to turn Live Photos to GIFs and Videos.

1. Saving Live Photos to Video on “iOS 13” and More
If you wish to save your photo or a live image to video, there is an option introduced by Apple is “Save As Video.” It is available inside your built-in “Photos” application. It permits the user to save a live image to video by just tapping a single hit. In this process, there is no need for any third-party application.
If you wish to save a live image to video, then abide by these instructions:
- First of all, launch any of your desired “Live Image” and then hit the “Share” tab there.
- Go to the “Share” tab.
- Then you have to hit on the “Save as Video” option.
2. Using Various Shortcuts to Turn the live Image into Video
In case you wish to allow untrusted functions or shortcuts to run on your system, then follow these steps:
- First of all, tap “Settings” to launch.
- Then, navigate to the “Shortcuts” tab and then hit it.
- After that, make permission for unreliable shortcuts by toggling the option “Allow Untrusted Shortcuts.”
- Hit on the “Allow” tab. It is located via a pop-out message. It will take permission to authenticate this shortcut to run on your device.
- Now, you can use any of the third-party websites like “Shortcuts Gallery” and then hit the option “Convert LivePhotos to Video.”
- Next, navigate to the shortcut link available on your device and hit it to launch.
- After that, hit the option “Get Shortcut.”
- Go to the shortcut app and then scroll your page down.
- After that, hit the option available for adding unreliable shortcuts.
- Now, you will see that the particular shortcut has been an add-on to the device’s library section.
- After that, you have to choose “Convert Live Photos to Video.”
- Now, the camera roll or gallery will launch on your device.
- Then, hit any of the available albums.
- Go to the image of your choice and hit it to see the preview of your “Live Image.”
- Next, tap the “Choose” option.
- Go to the least of the camera roll. There, you should find your converted image into a video clip.
- You can also find your video clip by navigating the section “Recents.”
If you wish to turn your live image to “GIFs,” then you have to navigate to the “Shortcuts app” and expand it.
- Then, you have to hit the “Gallery.”
- After that, hit the “Search” tab to activate it.
- Now, you have to enter “Live Photo to GIF” and then hit the first resulting option.
- Then, scroll down the page and hit the option “Add Shortcut.”
- Next, go back to the “Gallery” section and hit “Live Photo to GIF.”
This action will display the gallery of your live images. Here you have to hit any of your desired images from the available twenty pictures.
- After some time, you will see that your live images convert to GIFs. If you wish to see the preview of any of your images, then tap any of the desired images.
- Then, tap the “Share” icon located at the top right-hand side edge of your device’s screen.
- Now, hit the “Save Image” option.
Note: Your converted GIF will save to the “Camera” roll.
3. Saving “Live Image Effects” as “GIF
In case you don’t wish to convert your live image to a different format, then apply the “Loop” effect for live photo. To do so, follow these steps:
- Firstly, tap the image by navigating the “Photos” application.
- Then, swipe the page upward.
- Go to the “Effects” panel and hit the “Loop” option there.
- Now, this app will automatically convert your live image to a self-playing GIF.
- Hit the share tab now.
- Now, you have to select a sharing application like Facebook or WhatsApp.
- Next, tap on the send button after selecting your desired recipient.
- You will see that your selected GIF is transferred successfully.
Source : http://macfee-activate.com/how-to-turn-iphone-live-photos-into-gifs-or-videos/
Alex Smith is a creative person who has been writing blogs and articles about cyber security. He writes about the latest updates regarding mcafee.com/activate and how it can improve the work experience of users. His articles have been published in many popular e-magazines, blogs and websites.
Related Article
Post Your Ad Here

Comments