Essential Steps of The Sump Pump Installation
If the sump pump is well-fitted, there is no need to be apprehensive about flooding or water leakage in the basement. This article will provide readers who may be DIY lovers or homeowners who want to understand the process of sump pump installation before hiring such a contractor.
1. Measure the Need
Before starting the Sump Pump Repair Arlington VA fixing process, evaluate your underground room or crawl space to determine if a sump pump is required. Signs that you might want a sump pump include:
Frequent basement flooding
Visible watermarks on basement walls
High water table in your area
Excessive moisture and humidity in the basement
2. Select the Right Sump Pump
The sump pumps are submersible sump pumps and base sump pumps. Consider the following aspects when selecting a sump pump:
Type: Submersible pumps sit in the sump pit and are protected by water, making them quieter. Pedestal pumps have the motor above the pit, making them easier to keep but louder.
Horsepower: Excellent pump with enough power to control the water volume in your basement. A 1/3 HP pump is appropriate for most homes, but larger areas may require a 1/2 HP or higher.
Material: Choose a pump made of vital resources like cast iron or stainless steel.
3. Gather the Necessary Tools and Materials
Before you begin, ensure you have all the required tools and materials:
Sump pump
Sump basin (pit)
PVC piping
Check valve
Gravel
Drill and hole saw
Tape measure
Level
Pipe wrench
Silicone caulk
Shovel
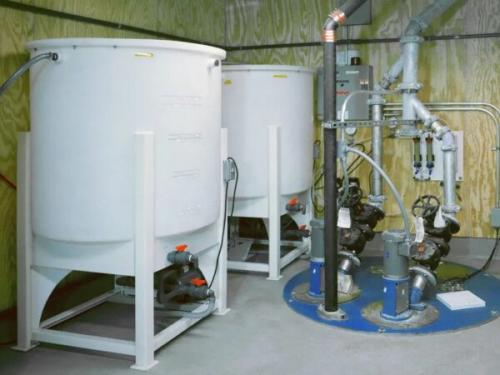
4. Select the Installation Location
Choose a location in your basement or crawl space where water tends to accumulate. Ideally, this spot should be near a power outlet and have an easy route for the discharge pipe to expel water outside.
5. Dig the Sump Pit
Mark the Area: Use the sump basin as a template to mark where you will dig the pit.
Dig the Pit: Dig deep enough to accommodate the sump basin, allowing the top to sit flush with the floor. The hole should be slightly wider than the basin to allow for gravel around the sides.
Add Gravel: Pour a layer of gravel at the bottom of the pit to help with drainage and stabilize the basin.
6. Install the Sump Basin
Place the Basin: Lower the sump basin into the pit, ensuring it is level. Add gravel around the sides for stability.
Drill Holes: Drill holes in the basin to allow water to enter, but not debris. These holes should be just above the gravel layer.
Seal the Basin: Apply silicone caulk around the basin's edges to create a watertight seal.
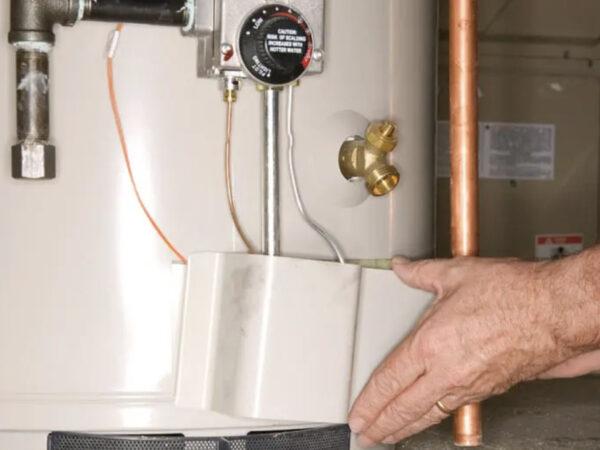
7. Install the Sump Pump
Position the Pump: Place the sump pump inside the basin. Ensure it is stable and level.
Attach the Discharge Pipe: Connect the PVC discharge pipe to the pump's outlet. Use a pipe wrench to secure the connection.
Install a Check Valve: Install a check valve on the discharge pipe to prevent water from backflowing into the basin.
8. Run the Discharge Pipe
Determine the Route: Plan a route for the discharge pipe to expel water outside, ideally away from the foundation.
Drill the Exit Hole: Drill a hole through the wall where the discharge pipe will exit. The hole should be slightly larger than the pipe.
Install the Pipe: Run the discharge pipe from the sump pump to the exit hole. Ensure the pipe slopes downward to allow for proper drainage.
Seal the Exit: Use silicone caulk to seal around the exit hole to prevent water infiltration.
9. Test the Sump Pump
Fill the Basin: Pour water into the sump basin until the pump activates. Ensure the pump is expelling water through the discharge pipe.
Check for Leaks: Inspect all connections and the exit point for leaks. Tighten any loose connections and apply additional caulk if necessary.
Test the Check Valve: Observe the water flow and check for backflow to ensure the check valve is functioning correctly.
10. Finishing Touches
Secure the Discharge Pipe: Use pipe brackets or clamps to secure the discharge pipe along its route.
Cover the Basin: Place a lid on the sump basin to prevent debris from entering and reduce noise.
Install a Backup System: Consider installing a battery backup system to ensure the sump pump operates during power outages.
Maintenance Tips
To ensure your sump pump operates efficiently, perform regular maintenance:
Test the Pump Monthly: Pour water into the basin to activate the pump and check for proper operation.
Clean the Basin: Remove any debris or sediment to prevent clogging.
Inspect the Discharge Pipe: Ensure the discharge pipe is clear and expels water from the foundation.
Check the Power Source: Make sure the sump pump is connected to a reliable power source and the backup system is functioning.
Conclusion
Sump Pump Installation Bristow VA, is crucial in protecting your home from water damage. Following these steps, you can ensure a successful installation and enjoy a dry, safe basement. Whether you tackle this project yourself or hire a professional, understanding the process will help you make informed decisions and maintain your sump pump for years.


Comments