Finishing Touches: How Base Shoes Perfect Your Flooring Project

Have you ever wondered how to make your floor look perfect? The answer might surprise you. It's all about the finishing touches. One important element is the base shoe. This small piece can make a big difference.
What is a Base Shoe?
A base shoe is a narrow strip of wood or plastic. It is placed between the floor and the wall. This helps cover gaps and gives a clean look. It is different from a baseboard. A baseboard is wider and covers the lower part of the wall.
Why Do You Need a Base Shoe?
Base shoes serve many purposes. They cover small gaps between the floor and the wall. They also protect the edges of the floor from damage. This makes your floor last longer.
Improve The Look
Base shoes can make your floor look neat and complete. They hide gaps that might look ugly. This makes your room look polished and finished.
Protect Your Floor
Base shoes protect your floor from bumps and scratches. They act as a barrier. This helps keep your floor in good condition.

Different Types of Base Shoes
There are different types of base shoes. You can choose based on your needs and style. Here are some common types:
Wood Base Shoes: These are made from wood. They can be stained or painted to match your floor.
Plastic Base Shoes: These are made from plastic. They are easy to clean and come in many colors.
Flexible Base Shoes: These can bend. They are good for curved walls or uneven floors.
How to Install Base Shoes
Installing base shoes is not hard. You can do it yourself with some tools. Here is a simple guide:
Step 1: Measure The Area
First, measure the length of the wall. This will tell you how much base shoe you need. Write down the measurements to remember them.
Step 2: Cut The Base Shoe
Use a saw to cut the base shoe to the right length. Make sure the cuts are straight. This will help the base shoe fit well.
Step 3: Attach The Base Shoe
Use construction glue to attach the base shoe to the wall. Apply the glue in a thin line. Press the base shoe into place. Hold it for a few seconds to let the glue set.
Step 4: Nail The Base Shoe
Use small nails to secure the base shoe. Hammer them in evenly along the base shoe. Be careful not to hit your fingers.
Step 5: Fill The Gaps
Use caulk to fill any small gaps. This will give a smooth finish. Let the caulk dry before touching it.
Maintenance Tips for Base Shoes
Base shoes need some care to stay in good shape. Here are some tips:
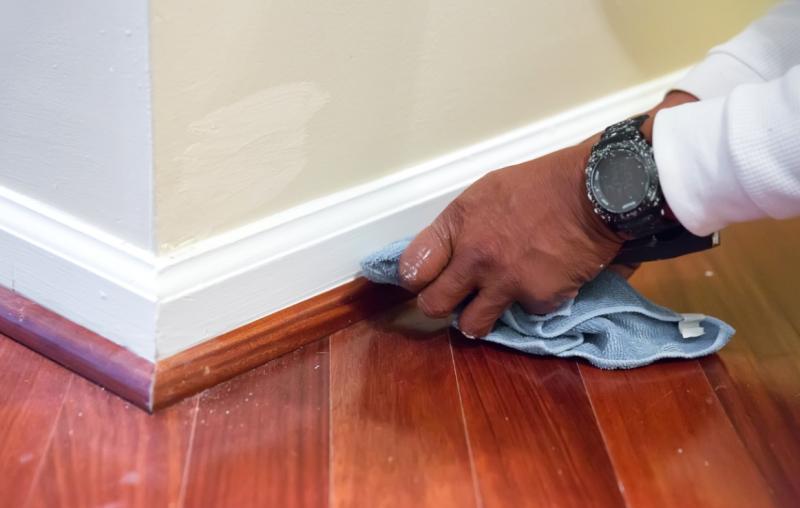
Clean them regularly with a damp cloth.
Check for loose nails and fix them.
Reapply caulk if needed.
Touch up paint or stain as required.
Other Finishing Touches for Your Floor
Base shoes are not the only finishing touch. There are other elements to consider. Here are a few:
Quarter Round
Quarter round is similar to a base shoe. It has a rounded shape. It can be used in place of or along with a base shoe.
Transition Strips
Transition strips cover the gap between two types of flooring. They make the transition smooth. They also protect the edges of the floors.
Shoe Molding
Shoe molding is another option. It is thicker than a base shoe. It gives a more substantial look.
Shower Door Sweeps
If you have a bathroom floor, consider shower door sweeps. These keep water from leaking out of the shower. They protect your floor from water damage.
Conclusion
The finishing touches are important. They make your flooring project look complete. Base shoes are a key part of this. They cover gaps, protect your floor, and improve the look of your room. With the right tools and a little effort, you can install them yourself. Don't forget other finishing touches like quarter rounds and transition strips. Together, they create a polished and finished look for your floor.
Post Your Ad Here

Comments